You can print superbills, aka itemized receipts, from a few different places, individually or in bulk for a day or date range.
- Individually, you can print from either the appointment window or the billing details screen in the Live Claims Feed.
- You can print them in bulk from the Live Claims Feed.
Printing Individually
- In the appointment window on the Billing tab, press the Patient Superbill button to print.

2. Select the printer icon to print from your device.

3. If your patient is connected to OnPatient, you can also send the superbill to their OnPatient account. Press the arrow next to the Patient Superbill and select Send to OnPatient.

4. You can also print from the Billing Details screen in the Live Claims Feed. Go to Billing > Live Claims Feed.
5. Press the Date of Service for the appointment you would like to print the superbill for.

6. Press the Superbill button.

All patient data listed in this article is sample data. This is not a real person or real patient data.
7. From here, you can press the printer icon to print from your device.

All patient data listed in this article is sample data. This is not a real person or real patient data.
Printing for a Single Day or Date Range
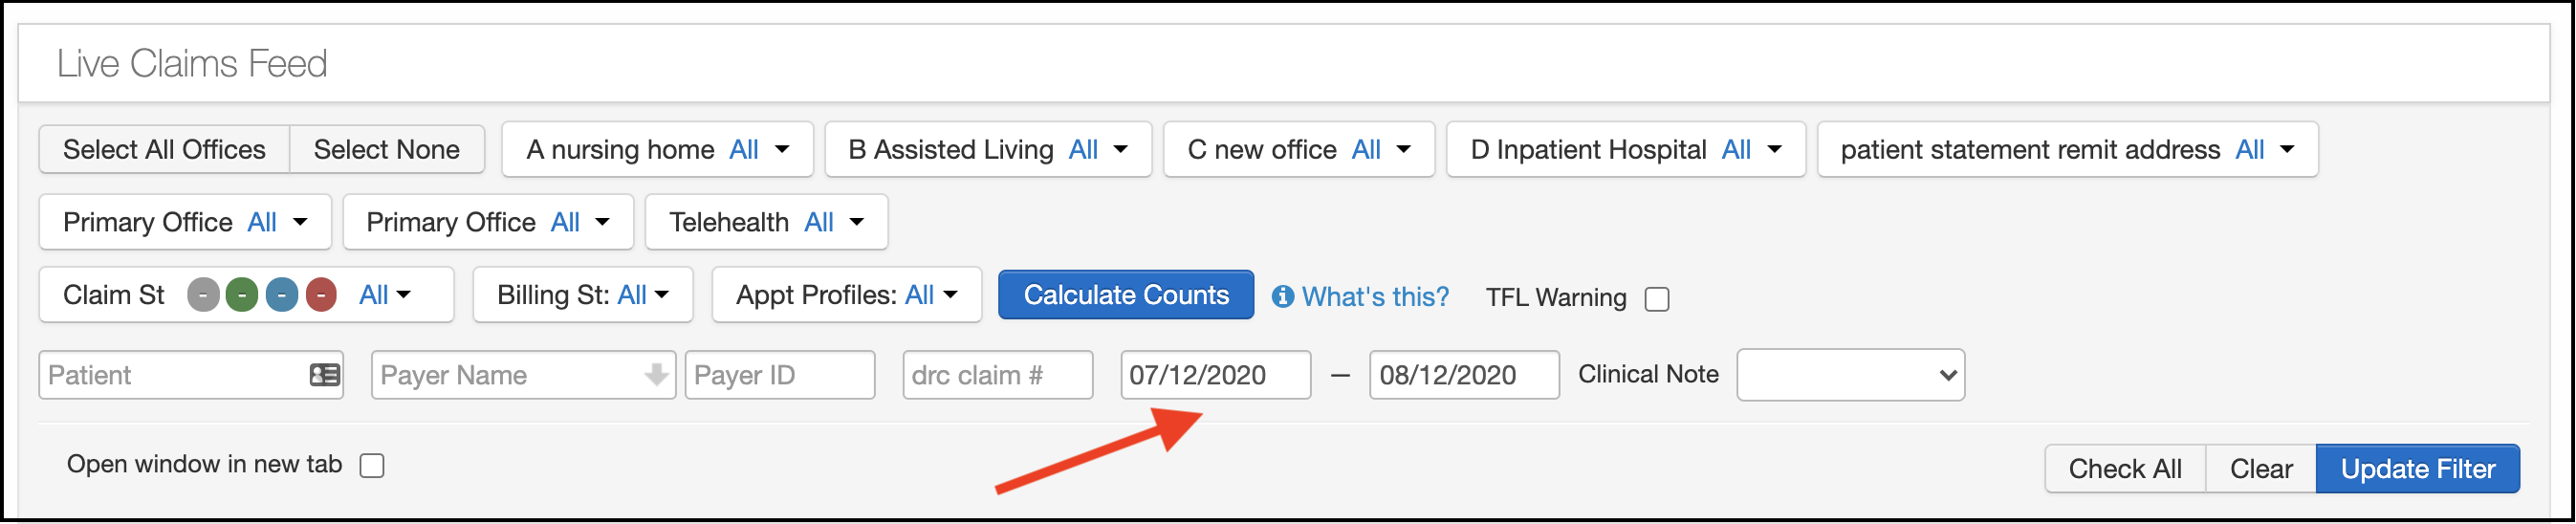
- Hover over the Billing tab and select Live Claims Feed.
- Using the various sorting options available in the Live Claims Feed, select the patient/group of patients. Enter the date range for the time frame you want to retrieve. You can also select under Clinical Note if you want to print superbills for only locked, unlocked, or both.
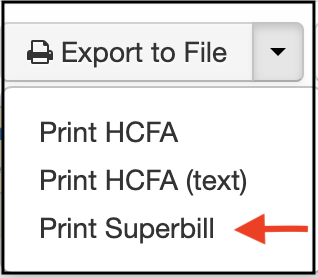
- In the Export to File Dropdown, select Print Superbill.
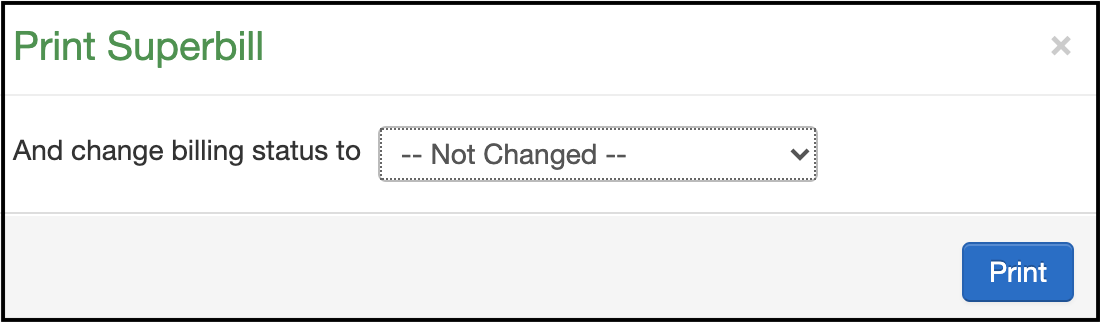
- You will then be prompted to choose to move the selected appointments to a new billing status or to leave them unchanged.
- To leave it unchanged, just verify not changed in the window and press Print.
- If you would like to move the selected appointments to a specific billing status, select it from the dropdown before selecting Print.

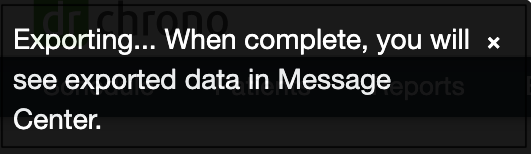
- Once you select Print, you will see this message in the top left of your screen. Your report will be generated and will be available in your message center when complete.
- In the Message Center (envelope icon on the top right), you will have the option to save them as a PDF or print them.


