Receipt Option Setup
The account will need to be set up with the options you would like to be available in your office.
- Navigate to Billing > Provider Settings > Receipt Options
- Select which options (email and/or fax) you would like made available for your account.
- Print Receipt - will show you a preview of the receipt and allow the option to print the document on a local printer
- Email Receipt - will email a receipt to the email address listed on the patient's chart
- Text Receipt - will text a receipt to the cell phone listed on the patient's chart.
- Enter a Reply-to Address, if applicable.
- Enter a message to be printed on each receipt, if applicable.
- Once entered, press Update Entire Profile.

Patient Receipt
This is a document that lists the patient's name, the amount paid, and the date the payment was made. It does not describe or specify what the payment is for.
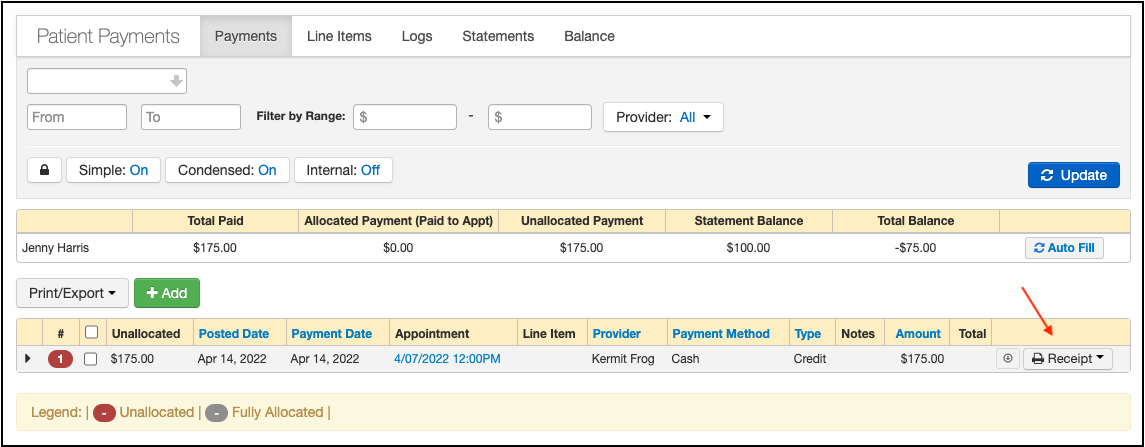
Patient Payment Screen
- Navigate to Billing > Patient Payments
- The receipt can be generated by pressing on the word "receipt" included in the red box on the right.

Patient Appointment Screen
- Navigate to Calendar > Patient Appointment
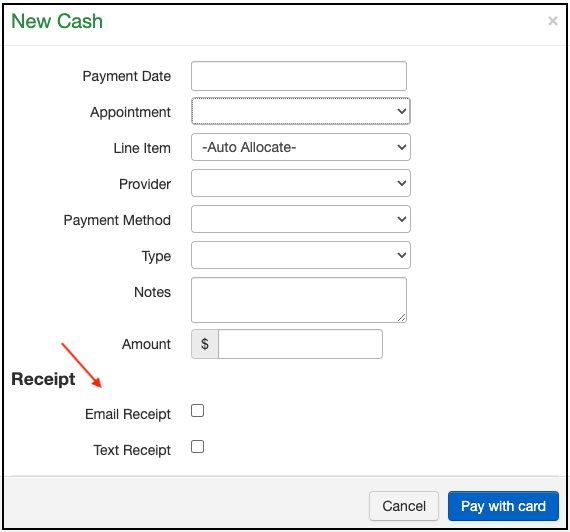
- To accept a patient payment from the appointment window, press the blue plus sign.
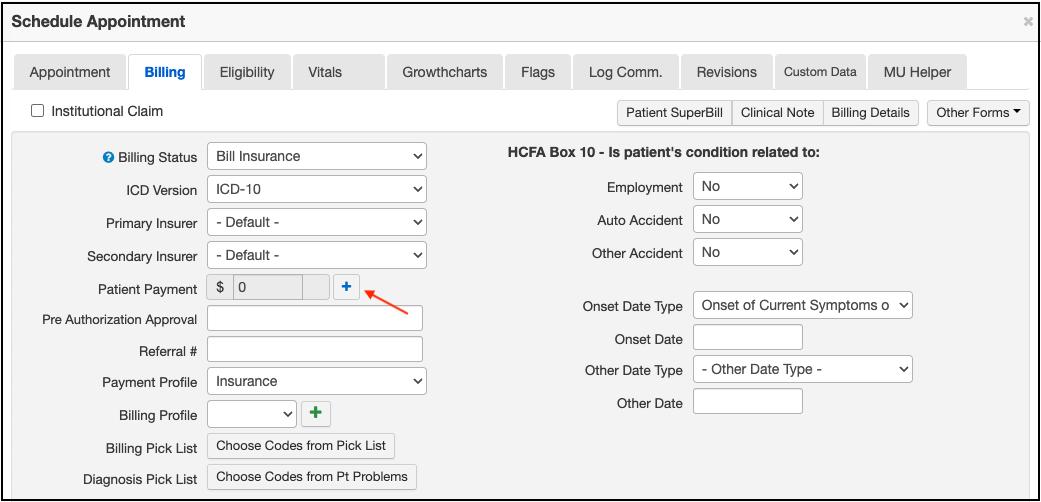
- The payment screen that opens will allow you to select an email or texted receipt.


Patient Superbill
If the patient wants a more detailed receipt, you can use the Superbill option. This receipt will include a description of services rendered/products purchased and their respective prices.
Live Claims Feed
- Navigate to Billing > Live Claims Feed
- Inside the patient's appointment, select SuperBill.


Patient Appointment Screen
- Navigate to Calendar > Patient Appointment > Billing Tab
- Select Patient Superbill
