If you receive a paper explanation of benefits (EOB) from an insurance payer, the best practice is to scan the document, add it to your DrChrono account, and attach it to the patient's appointment(s) that are included on the EOB. The image will be available to answer any questions the office or the patient has about the claim adjudication. It can be viewed or printed as necessary.
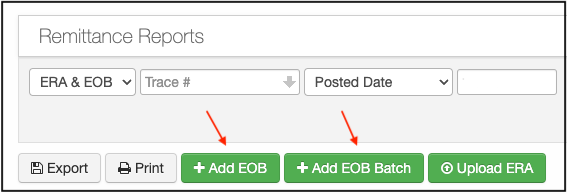
- Hover your cursor over the Billing tab and choose Remittance Reports from the drop-down menu.
- Select the Add EOB or (Add EOB Batch if you have multiple to add) button:
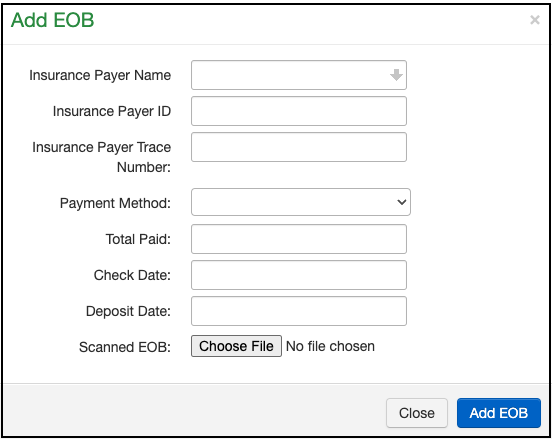
- Enter the required information into the fields given:
- Enter the required information into the fields given:
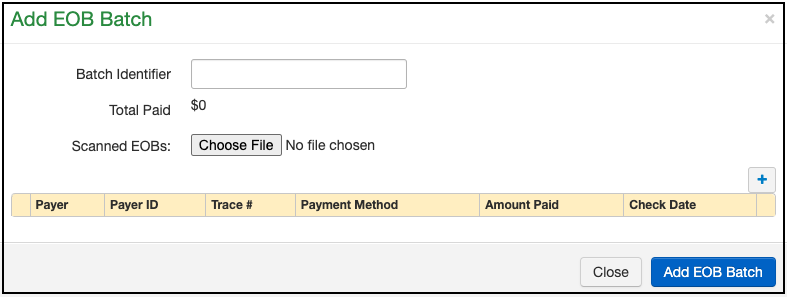
- Once you have entered the required information, including uploading the scanned EOB image, select Add EOB or Add EOB Batch at the bottom right of the window.
- When posting to individual patient accounts, enter the check # as the same number you entered as the Insurance Payer Trace Number when adding the EOB to the system. This will attach the image of the EOB to the payment within the patient's account.


