Posting a patient payment in DrChrono is very easy!
- Navigate to Billing > Patient Payments
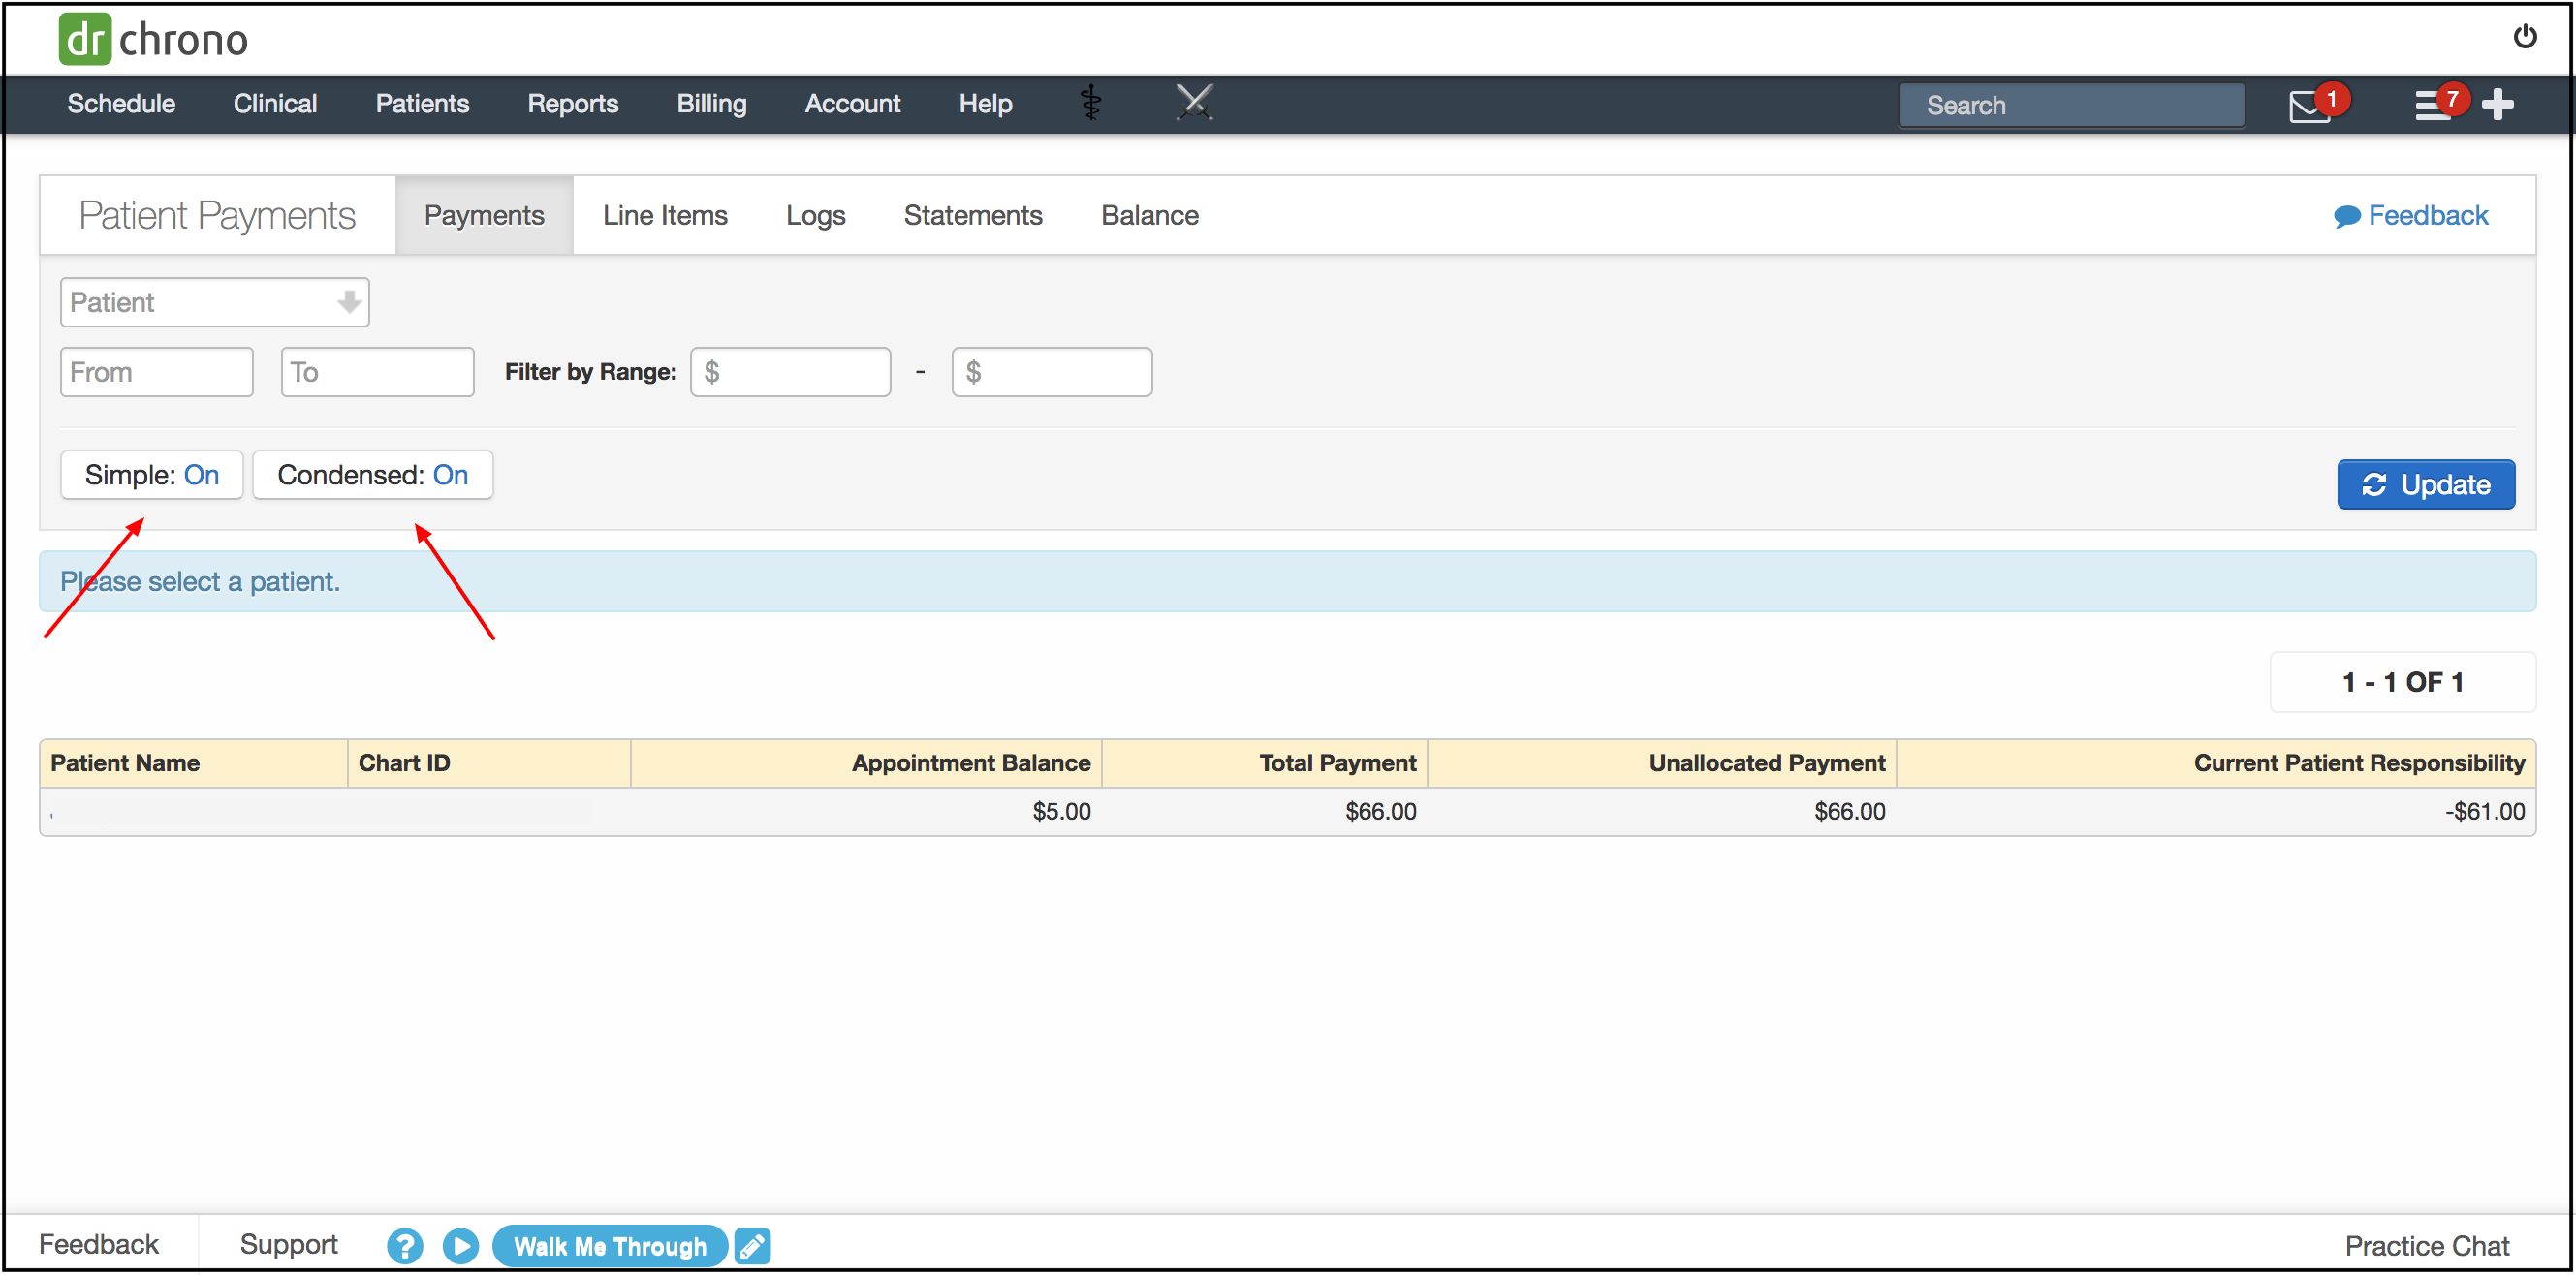
- By default, Simple and Condensed views will both be set to On. This provides you with the cleanest, most straightforward view possible. To view more in-depth information, switch those views to Off.
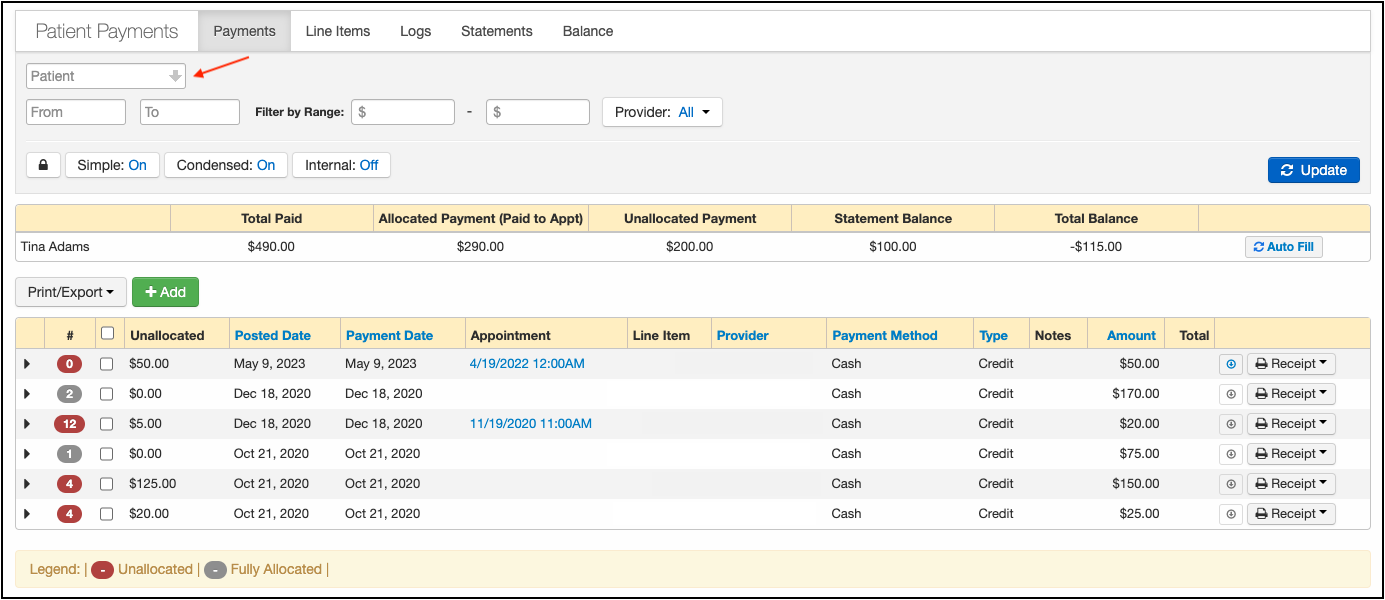
- Select a patient by entering their name in the search box on the top left. You can also choose a date range, and/or filter using a balance ($) filter.
- Press Update to populate the information
- To add a payment, press the green + Add button
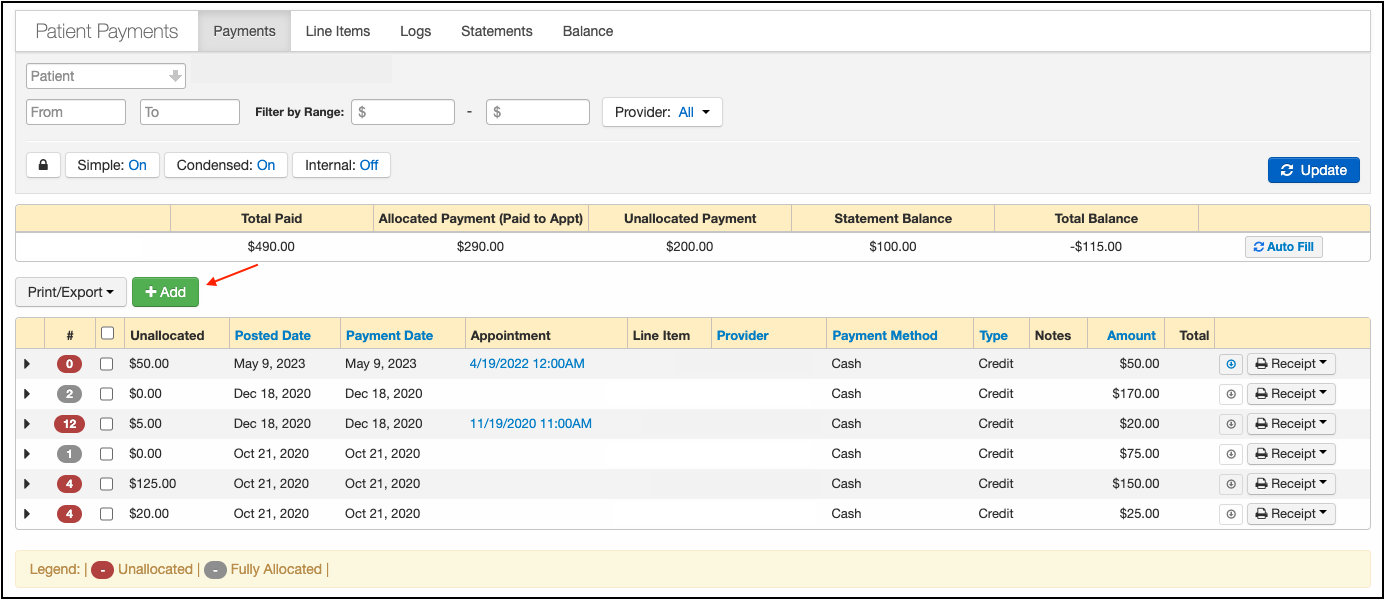
- From the popup menu titled New Cash, fill out the information and press Add:
- Payment Date - The date you are posting the payment
- Appointment - You can use the drop-down to assign the payment to a specific appointment, or if you leave it blank the payment will be added to the patient's unallocated payment section to be used at a future time/future visit.
- Line Item - If you select a specific appointment to apply the payment, you can specify which line item (CPT/HCPCS/Custom Code) the payment should be applied to. Any charges on the specific appointment will show in the drop-down.
- Provider - this line designates the provider for the specific payment. It can be left blank if you prefer.
- Payment Method - this is to identify the type of payment (cash, check, etc)
- Type - this is to specify the type of payment.
- Credit - a payment on the account
- Refund - an amount is being refunded to the patient
- Correction - used to correct a previous posting error
- Copay/Coinsurance - used to identify the payment as a copay/coinsurance
- Other - used for situations not specifically mentioned above
- Notes - This section is used to document check/money order numbers or any other details about the payment that could be useful later. The information listed here can come in handy if any research is needed in the future regarding the payment.


